Suminagashi, Japanese “floating ink”
Touch the water with black ink, then with a brush dipped in a little soapy water, again and again. The soap pushes the ink into fine rings, very like the rings in the app.
Game Tailors
Source: Paper marbling for kids: inks floating on water
The drawing app where the paper is real. No ads, no accounts, no data collected.
Game Tailors · Schieweg 15Y-40, 2627 AN Delft (NL)
KvK 92437702 · VAT NL866044474B01
info@gametailors.com · +31 6 4227 5919
© 2026 Game Tailors
Art technique
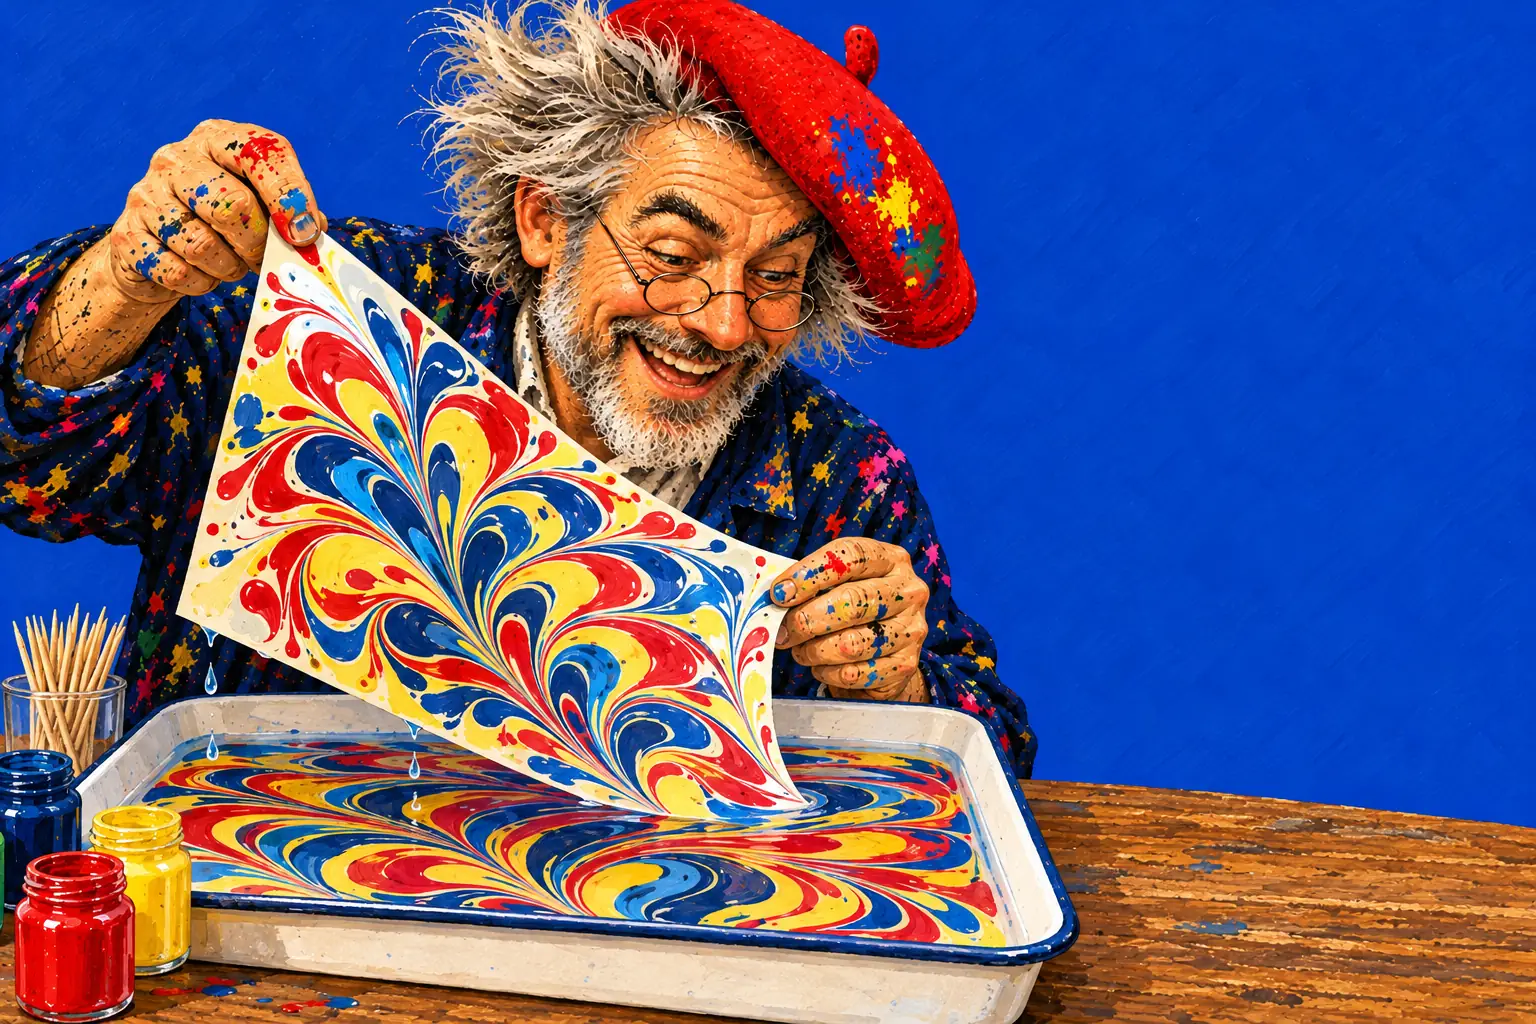
Drop marbling ink onto a tray of water and each drop spreads into a thin floating ring, pushing the earlier rings outward. Comb them with a toothpick into feathers, lay paper on the surface, and the floating pattern sticks to the paper.
Bathroom tab → Water → Pour water. Pour a puddle on the paper: this is your bath.
Craft tab → Marbling inks (in the full toolbox): a dropper in the paint colours. Tap for one drop, hold to keep dripping. On the water, each drop spreads at once into a thin, round film.
Drop colour after colour in the same spot. Each new drop pushes the earlier ones outward into rings inside rings, every colour kept.
Craft tab → Poke → Toothpick (also in the full toolbox). Draw it through the rings, back and forth: it drags the film along as one sheet and combs it into feathers and chevrons.
Wait. As the water soaks into the paper, the film settles where it lies, and once the paper is nearly dry it soaks in: that is your print.
Also try: a drop on dry paper (a deep, strong blot); pushing the film with your hand; lifting the film off the water with the paper towel.
Touch the water with black ink, then with a brush dipped in a little soapy water, again and again. The soap pushes the ink into fine rings, very like the rings in the app.
A comb made of toothpicks taped to card gives neat rows of chevrons in one stroke.
Cut circles from your marbled paper for tree decorations or gift tags.
Reds and golds in autumn, blues and silver in winter, greens and yellows in spring.
The bath is on the page itself, so you don’t lift a sheet off: the pattern settles onto the paper as the water soaks away, and the print appears as the paper dries. Rings form in the order you drop them, every time. Water is free; the marbling inks and the toothpick are in the full toolbox.
You lay a fresh sheet on top and lift it after a few seconds, then clean the water and print again. Real ink sometimes sinks or spreads less, depending on the kit, the water and the size of the drop, so the first print is usually a test.
Water has a stretchy skin on top. Marbling ink is made to float on that skin and spread out very thin, so each drop opens into a ring and pushes the others out of the way. The paper picks up the thin colour from the top.
For grown-ups. Marbling inks contain a dispersant, a surfactant, which lowers the surface tension where a drop lands, so it spreads into a very thin film (this pull from low to high surface tension is the Marangoni effect) and pushes earlier films outward into concentric rings. The films don’t mix with the water underneath or with each other, so a stylus drags them as one sheet and the colours keep their edges. Paper laid on the surface picks up the film. Oil-based methods rely on the same idea, because oil and water don’t mix: the colour stays on top. Traditional Turkish ebru uses water thickened with a size; suminagashi uses plain water.
Shaving foam and food colouring is the easiest and cheapest. For floating rings and feathers, a children’s marbling ink kit on a tray of plain water is the next step.
Not really: food colouring mixes into the water instead of floating, and cooking oil leaves greasy, see-through patches on paper. Inks made for marbling work much better.
It is a grown-up method: nail polish gives off strong solvent fumes and is flammable. Marbling inks made for children are the safer choice.
Big drops from high up can break through the surface. Hold the dropper just above the water, use small drops and clean old ink off with newspaper. Some kits need a few drops of their own additive, so check the instructions.
Japanese “floating ink”: black ink and a little soapy water are touched onto plain water in turn, making fine rings that are printed onto paper. It is one of the oldest kinds of marbling.
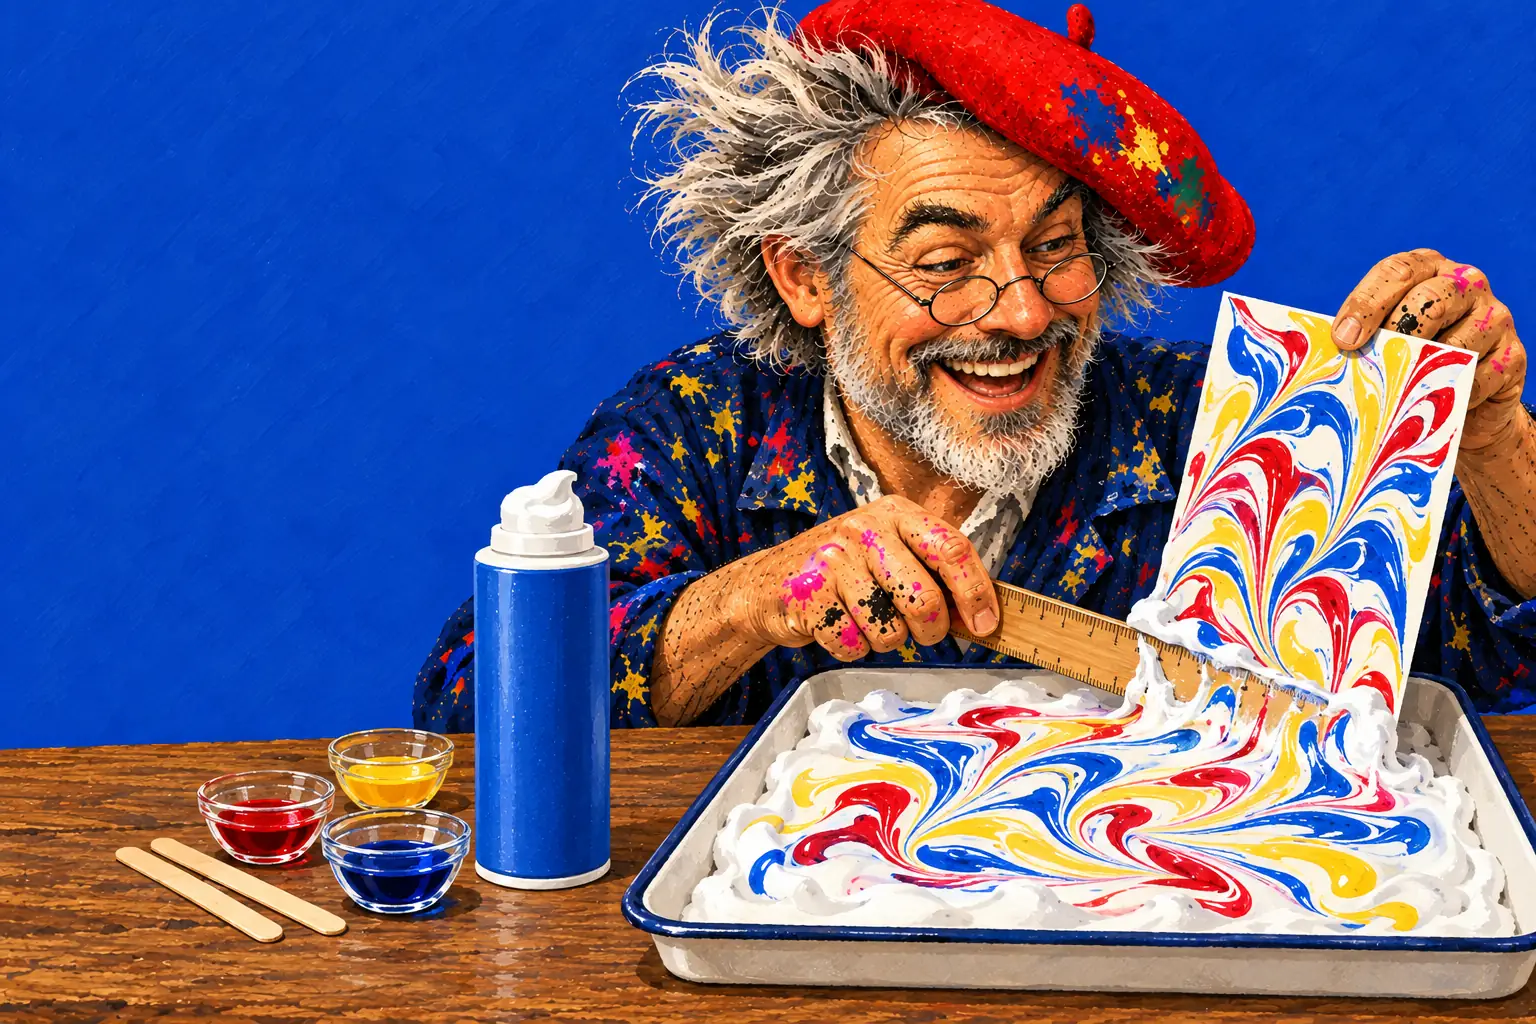
The easiest marbling: food colouring swirled on foam.
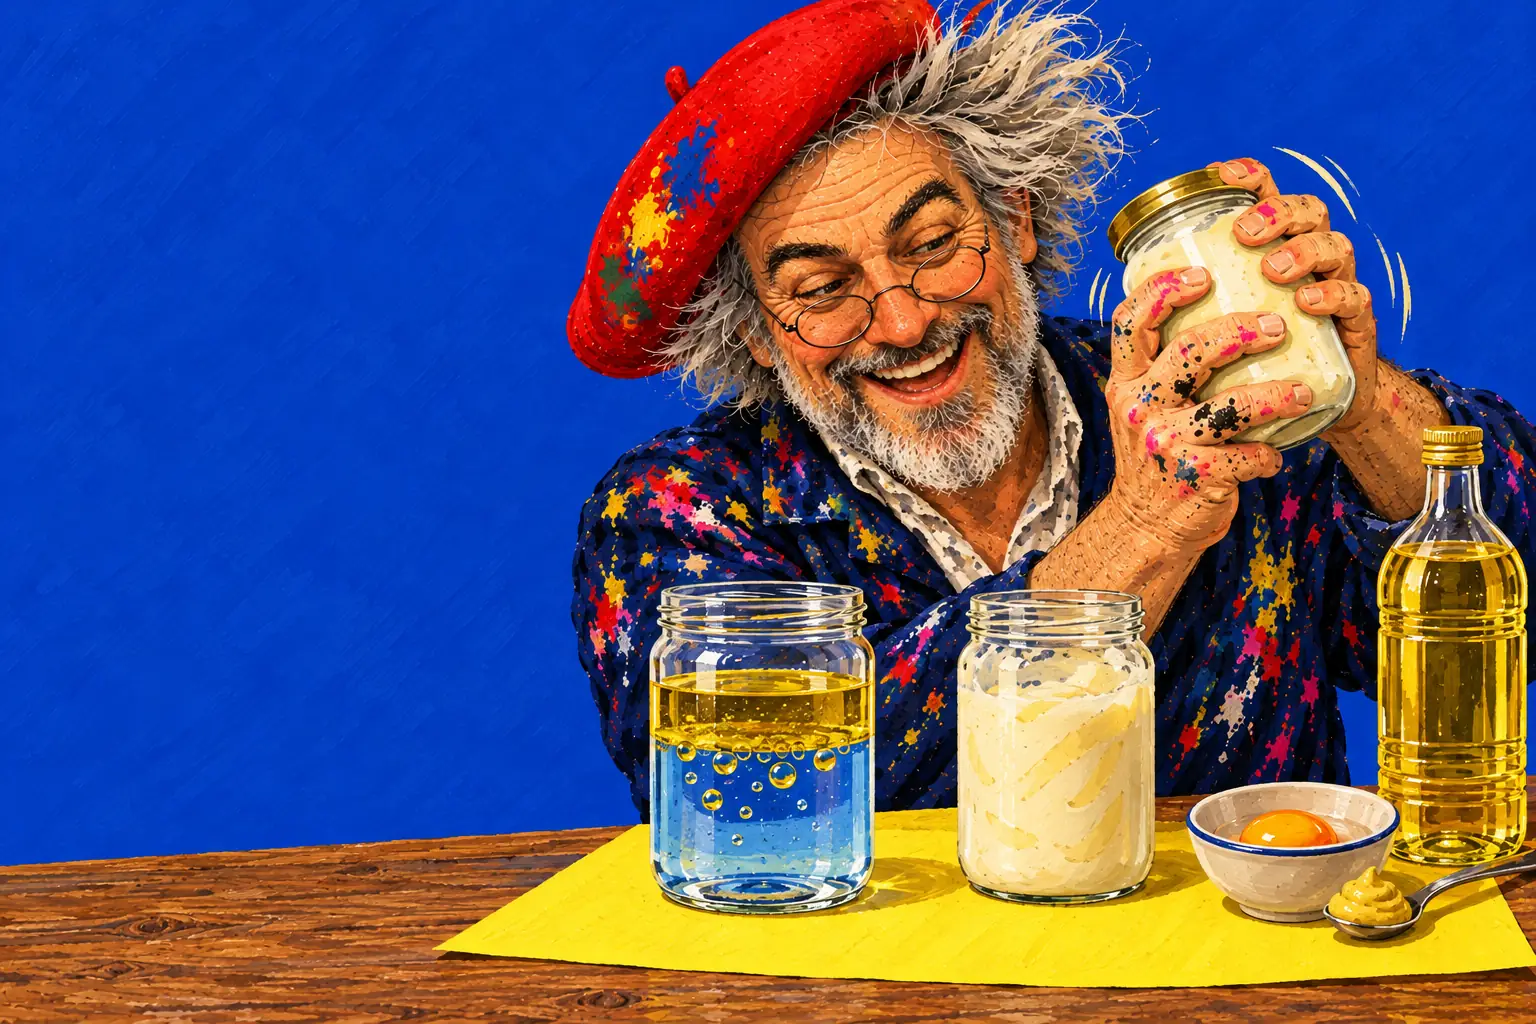
Why they won’t mix, and how egg yolk makes them hold together.
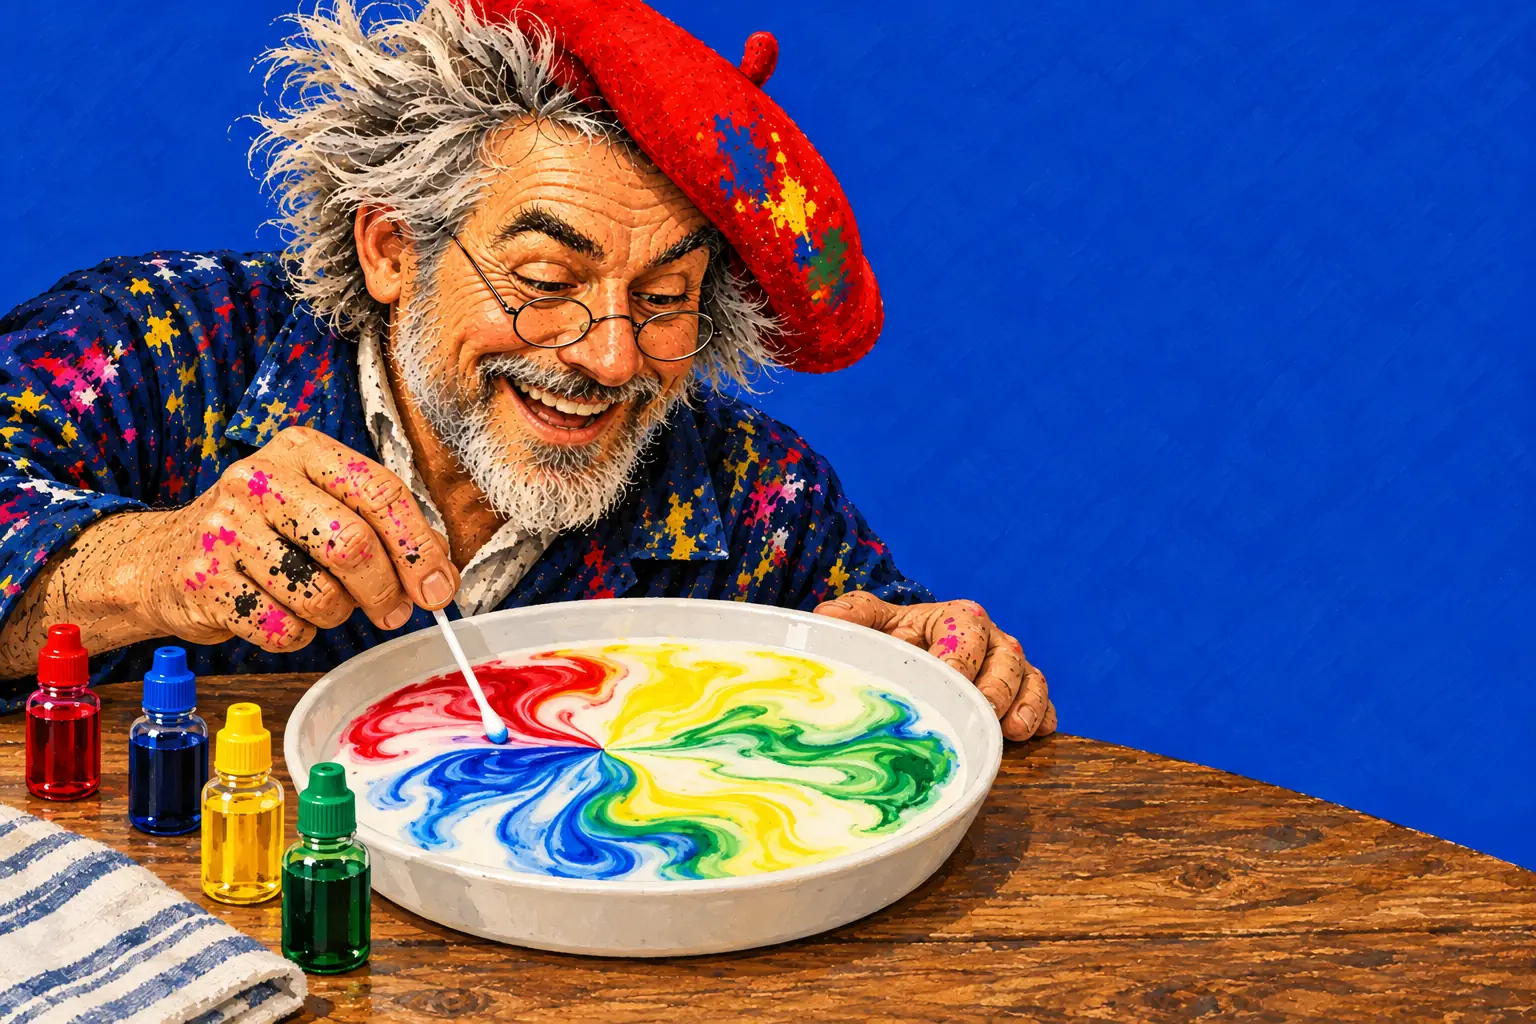
Soap sends colour racing across milk.